
Last updated October 16, 2026
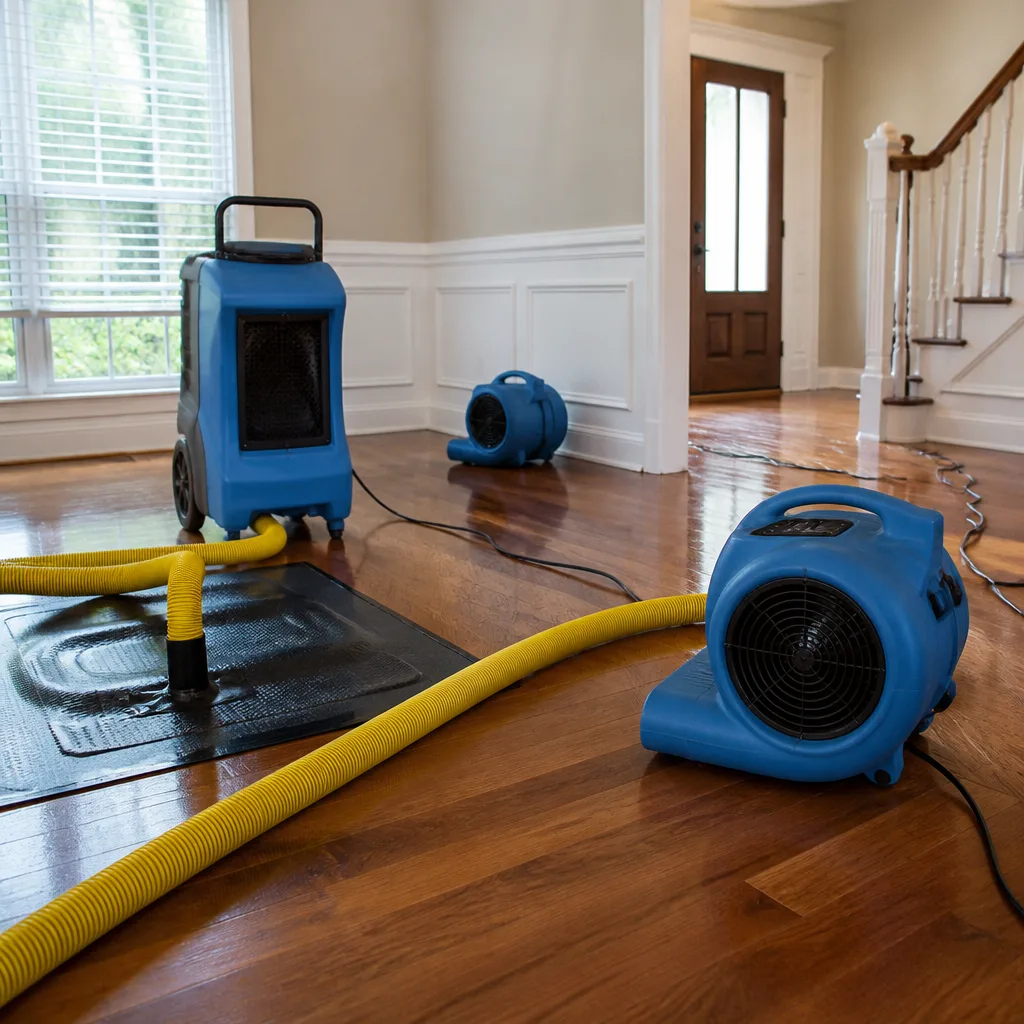 Water damage drying
 Fire & smoke cleanup
 Mold remediation
 Storm response
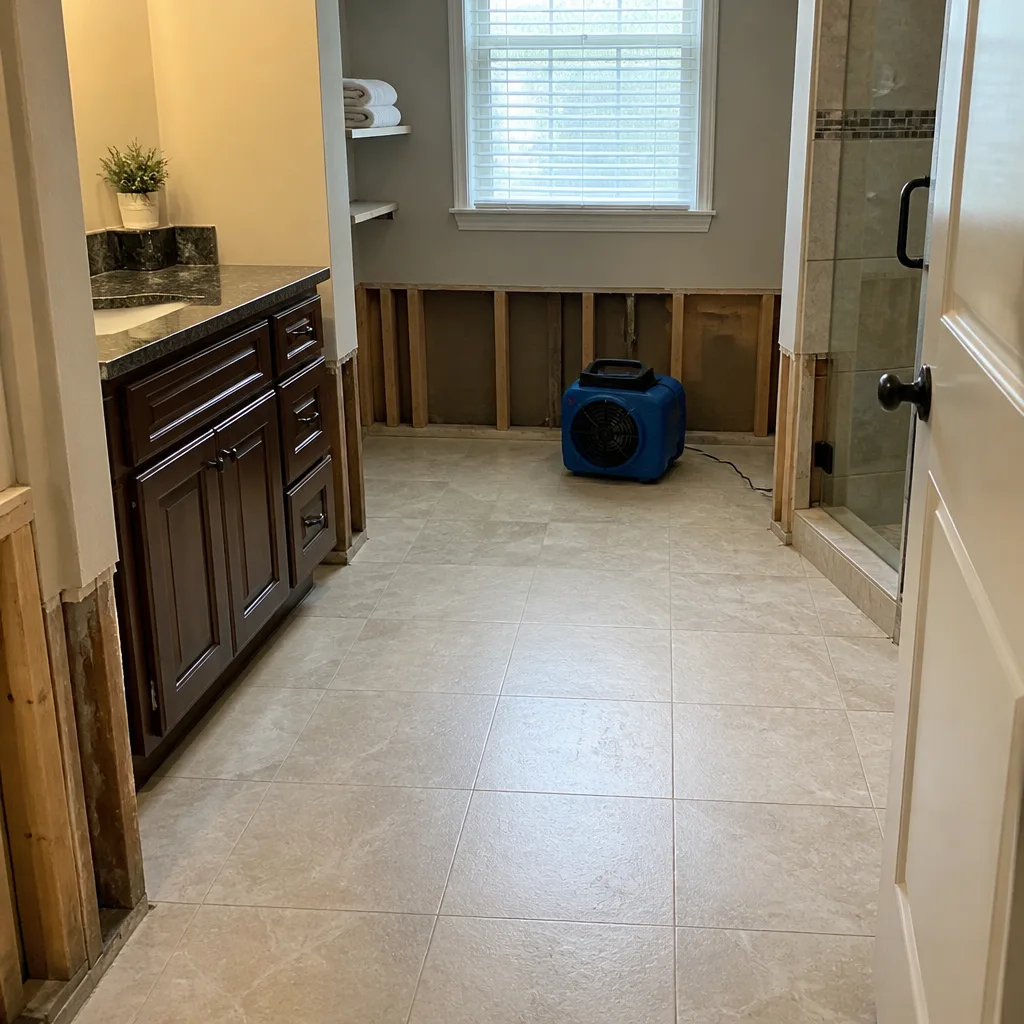 Sewage cleanup
 Reconstruction
Free visual inspection and a written scope of work before any mitigation begins - photos, moisture readings, and drying logs go in your claim file
The scope we write is the scope we bill. Anything new gets shown to you, in writing, before we touch it.
Get your free estimateWater Damage Restoration Maintenance Checklist for Orlando Homeowners
The number-one source of indoor water damage in Orlando homes isn’t the storm you’re watching on the radar. It’s the thin white PVC pipe running from your air handler to the outside, quietly clogging with algae in Florida humidity until it dumps 20-plus gallons a day inside a wall cavity. Most national checklists tell you to clean gutters and check the roof, which is fine advice for Ohio. This guide is built around the specific failure points we see in Central Florida homes every week: condensate lines, irrigation overspray, soffit rot, and wet-season groundwater. You’ll learn what to inspect monthly, what to do before June rains arrive, and what to photograph before you ever call a restoration company in Orlando.
Quick Answer
A water damage prevention checklist for Orlando homeowners should cover four local failure points: the AC condensate line (inspect and flush monthly with vinegar), irrigation spray patterns (keep sprinkler heads at least 12 to 18 inches from the slab edge), soffit and fascia boards (check for paint bubbles and soft spots, especially on east-facing elevations), and the seasonal shut-off schedule tied to Central Florida’s June-through-September wet season. The five-minute monthly inspection beats a 50-page annual checklist because Orlando’s humidity creates failures continuously, not seasonally.
Restoration work we handle
Table of Contents
- The Monthly AC Condensate Line Check
- Irrigation Setback: Why Sprinklers Too Close to the Slab Are a Slow Leak
- Soffit and Fascia: The Rot That Hides Behind Paint
- The Orlando Seasonal Shut-Off and Check Schedule
- The Phone Camera Baseline: What to Document Before Anything Fails
- Common Mistakes to Avoid
- When to Call a Professional
- Frequently Asked Questions
The Monthly AC Condensate Line Check
Your air conditioner removes moisture from the air as it cools. That moisture has to go somewhere. It drips into a drain pan and flows through a PVC pipe (the condensate line) to the outside of your house. In low-humidity climates, the water evaporates from the pipe and nobody thinks about it again. In Orlando, the pipe stays wet, algae grows inside it, and the line clogs. When it clogs, the water backs up into the drain pan, and when the drain pan overflows, water runs into the ceiling, the wall cavity, or the floor around the air handler. We’ve opened ceilings in Orlando homes and found the drywall saturated from a clog that took three weeks to overflow visibly.
What to check monthly, in under five minutes
- Look at the pipe’s exit point. Walk outside to where the condensate line exits near the foundation or the air handler. You should see a slow drip while the AC runs. No drip, after the unit has been cooling for at least 30 minutes, often means the line is already partially blocked.
- Check the drain pan. If your air handler has a visible drain pan (it’s in an interior closet or garage), shine a flashlight into it. Standing water in the pan when the AC has been running is an early warning. A half-inch of water that never drains is a clog forming.
- Look for mineral trails or staining. White crusty deposits or rust-colored staining around the air handler or on the ceiling below an attic unit means water has already overflowed at some point and dried. That’s a reminder the line needs flushing or professional attention.
- Flush with plain white vinegar. Pour about one cup of white vinegar into the condensate line’s cleanout access (a capped tee fitting near the air handler or a small opening at the top of the drain line). Vinegar kills algae and loosens mineral buildup. Wait 20 minutes, then rinse with warm water. Do not use bleach; bleach damages PVC and some coil components over time.
The flush isn’t a substitute for a professional line cleaning with compressed air or a wet-dry vacuum when the line is fully clogged. In our experience in Orlando, homes that get this monthly vinegar flush rarely have a condensate overflow emergency. Homes that never flush it usually find out there’s a problem when the ceiling starts staining. The difference is five minutes a month.
Irrigation Setback: Why Sprinklers Too Close to the Slab Are a Slow Leak
Central Florida’s sandy soil drains fast, which makes homeowners think overspray onto the foundation doesn’t matter. It does. When sprinkler heads sit within 12 inches of the slab and throw water onto the stem wall (the short concrete or block wall between the slab and the first course of siding or stucco), that water wicks up and in. Stucco is porous. Over months, a sprinkler hitting the same spot on the stem wall every morning at 5 a.m. causes efflorescence (white salt staining), paint failure, and eventually water entry at the base plate where the wall framing meets the concrete. The base plate is untreated wood in many older Orlando homes, which means the rot stays hidden inside the wall until the wall loses structural strength or mold appears on the interior drywall.
The 5-step irrigation audit that catches most Orlando slab issues
- Mark every sprinkler head. Walk the perimeter of the house and note where each rotor or spray head sits relative to the foundation. Measure the distance. Heads closer than 12 inches are worth correcting.
- Watch one full zone run. Turn on each irrigation zone for two minutes and watch where the spray actually lands, especially at the corners where two spray patterns meet. Corners are where we see the worst wall saturation in Orlando’s older neighborhoods like Colonialtown and Delaney Park.
- Check the stem wall for a “tide line.” If the bottom 4 to 8 inches of the stem wall stays darker or greener than the rest, moisture is being applied regularly. Compare the outside-facing side to the same wall’s interior baseboard area for bubbling paint or swelling MDF baseboards, which wick moisture like a sponge.
- Adjust or replace the head, not the timer. Most Orlando irrigation overspray is a spacing problem, not a scheduling problem. A $12 adjustable spray nozzle pointed away from the house fixes what a shorter run time will not. If the head sprays in a fixed arc that hits the wall, replace it with a variable-arc nozzle and dial the set-back edge back to 90 degrees or face it away entirely.
- Re-test after a heavy rain. Wait until a day after a good downpour and run the system again. Orlando rain already saturates the soil’s top layers; sprinkler output on top of rain forces water deeper and holds it against the stem wall. If the spray pattern looks excessive after rain, dial back run times during the June-September period.
The setback distance isn’t a code requirement in most Orlando municipalities. It’s just the distance that separates a sprinkler doing its job from a sprinkler slowly feeding water into your wall framing. In neighborhoods where houses sit close together, like Thornton Park or College Park, narrow side yards often force sprinklers right against the foundation and nobody notices until the drywall inside starts streaking brown.
Soffit and Fascia: The Rot That Hides Behind Paint
Florida’s summer rain pattern creates a specific vulnerability that other climates don’t see the same way. Rain hits the roof, rolls down to the gutter, and when the gutter overflows or leaks at the end cap, the water lands directly on the fascia board (the vertical board the gutter hangs on) and the soffit (the horizontal board that encloses the roof overhang). Orlando’s afternoon thunderstorms dump an inch of rain in 40 minutes on a regular basis. That’s a lot of water hitting the same fascia over and over. And in a climate that stays humid, a fascia board that gets wet on Tuesday may not dry out for two weeks. That’s exactly the condition wood-rot fungus needs.
What to look for each time you’re near the roofline
- Paint bubbles or blisters on the fascia. Rot starts behind the paint. The paint holds moisture against the wood and the fungus grows underneath. A bubble that’s soft when pressed is rot, not just a paint defect. If it feels spongy behind the paint film, water is already inside the wood fiber.
- Peeling paint at gutter end caps or corners. Water follows the path of least resistance, which in a gutter system is the seam at the end cap and the joint between fascia boards. Peeling at those specific spots suggests the gutter is leaking exactly there.
- Softness around nail heads or screw holes. When the fasteners holding the gutter to the fascia start to loosen, the fascia has lost wood fiber. A loose gutter on a wood fascia is rot that has expanded around the screw hole. The screw didn’t fail; the wood did.
- Dark staining on the soffit underside. The soffit shouldn’t look dramatically darker than neighboring soffit sections. Dark streaks that follow the vent lines suggest water has been sitting in the soffit channel or wicking along the vent slots. Soffit vents are also how attic moisture often finds its way out, but when the outside look changes seasonally, it’s often a roof leak above.
- Birds or insects working at the roofline. Woodpeckers don’t drill into sound wood for no reason; they’re after insects already working inside compromised fascia or soffit. Carpenter ants in Orlando follow wet wood. If you see ants trailing along the fascia in the same spot repeatedly, they’re telling you the wood is wet somewhere.
Wood-frame and stucco Orlando construction hides fascia and soffit rot for a long time because the stucco or siding covers the end grain on the wall side. The only sign from the outside might be a paint crack at the corner board or a small drip line on the wall below the roofline. But by the time that drip line shows up, the wood behind the paint is usually far gone. Catch it early and it’s a gutter repair and paint job. Miss it for two wet seasons and you’re into roof-deck and rafter-tail replacement, which is a much bigger discussion.
The Orlando Seasonal Shut-Off and Check Schedule
National checklists say “inspect in the spring and fall.” Orlando doesn’t have those seasons the way the national template assumes. We have a wet season (June through early September) and a dry season (October through May). The maintenance schedule should follow that, not the leaf-color calendar.
Late May, before the wet season starts
- Clean or check gutters and downspouts. Live oak trees in Orlando drop leaves and pollen in April and May. Gutters carrying that leaf load into June mean every afternoon storm overflows onto the fascia. Downspouts should discharge at least 6 feet from the foundation, and splash blocks should angle water away from the stem wall.
- Test the irrigation shutoff with the rain sensor. Florida building codes require a rain sensor or soil moisture sensor on automatic irrigation systems. Test it by running a zone and spraying the sensor with water from a hose; the zone should shut off. If it doesn’t, the sensor battery is dead or the sensor is out of position.
- Flush the AC condensate line thoroughly. Before the humidity cranks up, do the vinegar flush and then follow it with a full gallon of warm water to push loosened algae through. If the line drains slowly, clear it with a wet-dry vacuum on the exterior opening before the wet season starts.
- Check window and door weeps and thresholds. Orlando’s wet-season storms hit walls hard and sideways. Weep holes at the bottom of vinyl or stucco-clad walls need to be clear so wind-driven rain that gets behind the cladding can escape. Poke them with a zip tie or pipe cleaner. A blocked weep hole is a standing moisture pocket.
October, when the wet season ends
- Check the stem wall for mineral staining that didn’t dry. After months of afternoon storms, any new efflorescence (the white chalky deposit) or persistent dark band at the bottom of the stem wall means water has been collecting there. Watch it through the dry season and fix grading or drainage issues before next June.
- Walk the soffit and fascia after the first dry weeks. Once the season’s hard rain stops, rot areas start to dry and reveal themselves as cracks, peeling paint, or soft spots. It’s easier to spot in October than in the middle of August when everything is wet all the time anyway.
- Document any new water intrusion signs. If you saw a ceiling stain appear in September or noticed a baseboard swelled in August, photograph it now with a date stamp and note when it appeared. The dry season is the time to get it checked before the next wet season turns a small issue into an insurance claim.
The Phone Camera Baseline: What to Document Before Anything Fails
Here’s the part most Orlando water damage checklists miss entirely. Before anything goes wrong, you should have a set of photographs of the areas most likely to fail. When water does appear, you’ll need to show an insurance adjuster what the area looked like before the damage. Without a baseline, every water stain becomes a dispute about whether it was pre-existing. With a baseline, the difference is obvious. This is the same principle we use on every water damage restoration in Orlando job we take on: document first, then work.
What to photograph now, with date and time stamps on
- The ceiling around every register and air return. Condensate leaks from attic air handlers usually show up at the supply registers first, because the ducts carry cool air and condense moisture when they leak. A photo of clean ceilings now makes a future stain easy to prove as a new event.
- The baseboard and bottom 12 inches of wall in rooms with exterior plumbing. Especially behind toilets, under kitchen sinks, and along any wall with a hose bib on the other side. These are the places we find slow supply-line leaks in Orlando homes.
- The exterior stem wall and the first 2 feet of soil or lawn next to it. Photograph each side of the house from the same angle every six months. Changes in the soil line, new staining on the wall, or moss and algae appearing are visible in a photo comparison long before you’d notice them walking past.
- The water heater and washing machine connections. A quick photo of the flex lines and shutoff valves establishes what they looked like when dry and settles disputes about whether the installer left a leak on day one or the line failed later. It also gives you a record of the shutoff valve location in an emergency.
- The AC drain pan and condensate line. If the line is clear and the pan is dry, photograph it. If the line starts backing up in August, you have a before photo that shows the change.
The same principle applies when damage does occur. Before any professional arrives, photograph the standing water, the water path, the baseboards, and the underside of the wet carpet or flooring if you can lift a corner safely. In Florida, many homeowners’ insurance carriers want documentation of the exact event, not just the aftermath. Your phone camera and a few minutes now save a lot of time and money if you ever have to file a claim. We also recommend this to any homeowner considering mold remediation in Orlando, because the pre-existing condition photos establish exactly when mold appeared.
Common Mistakes to Avoid
- Relying on the “annual roof inspection” as your whole prevention plan. Roof leaks are real in Orlando, but the slow leaks we see more often come from condensate lines, irrigation overspray, and plumbing in walls. A roof inspection doesn’t address any of those. Your prevention plan needs to cover all four.
- Ignoring a small ceiling stain because it’s not growing. A water stain that doesn’t grow can still indicate an active slow leak; it just means the water is evaporating before it spreads more visibly. In Orlando’s humidity, that evaporating water often feeds mold growth inside the ceiling cavity. Small stain, big problem growing behind it.
- Pointing a fan at a wet carpet and calling it dry. Household fans move air across the surface but don’t extract moisture from the pad and subfloor below. A carpet that feels dry on top can still be wet underneath, especially in Florida’s humidity. The standard is to dry the entire affected material to its pre-loss moisture content, which requires meters and professional-grade air movers and dehumidifiers in most cases.
- Using bleach to “kill mold” after a water leak. Bleach’s active ingredient evaporates quickly and leaves water behind, which actually feeds mold on porous surfaces like drywall and wood. In many situations, the surface looks clean but the mold colony remains in the material and returns. Proper mold remediation requires containment and removal, not a wipe-down.
- Assuming home insurance covers slow leaks the same way it covers sudden bursts. Many Florida policies have specific exclusions or higher deductibles for damage from long-term seepage or repeated leakage. The condensate line that’s been seeping for three months is often in a different coverage category than the pipe that burst yesterday. Knowing your policy now is worth more than arguing with your adjuster later.
- Putting off a repair because Orlando’s “dry season” is coming. The dry season doesn’t mean zero rain, and the humidity doesn’t go away. A small roof leak in November still feeds mold in the attic, even if it leaks less often. Dry air doesn’t fix the hole.
- Judging a water restoration company only by its marketing phrase “24-hour emergency service.” “24-hour” should mean a live person answers the phone and someone is dispatched, not a call-back queue. Ask about the written price before work starts, the arrival window, and what the warranty covers. These specifics are what separate actual restoration response from a franchise that books a job and routes it through three call centers before a truck leaves.
When to Call a Professional
Some maintenance items are squarely DIY. A monthly vinegar flush, an irrigation arc adjustment, a visual soffit check, photographing your baseline. Other situations need a professional eye and equipment. If you see a ceiling stain that grew after a rainstorm, standing water that spans more than a few square feet, baseboards that are swelling or separating from the wall, a musty odor that doesn’t go away after drying, or any sign of water around your electrical panel, stop and call. Water and wiring don’t mix, and the longer water sits in building materials, the more secondary damage and potential mold you create. Dryden Restoration Orlando offers free estimates in Orlando, and we answer the phone with a live person, 24 hours a day, at (850) 786-4472.
Frequently Asked Questions
Water damage restoration in Orlando typically ranges from $1,200 to $4,500 for a standard room-sized water loss involving extraction, drying, and minor repairs. Larger losses that require cabinet removal, full wall opening, or mold remediation can run $8,000 to $25,000 or more depending on the square footage and materials affected. The single biggest variable is how long the water sat before extraction began; a same-day response usually costs far less than a week-delayed response because less demolition is required. Call (850) 786-4472 for a written estimate after we assess the specific damage.
It depends on the source and your specific policy. Most Florida homeowners’ policies cover sudden and accidental water losses, like a burst supply line or an appliance overflow. Slow leaks, repeated seepage, and some mold claims have different coverage terms, higher deductibles, or exclusions. We work directly with insurance adjusters on most Orlando restoration jobs, and we photograph everything before any work starts. That documentation often makes the difference in a claim decision. Call us and we’ll walk through what your policy language likely covers.
Most water losses in Orlando take three to five days to dry to the pre-loss moisture standard when professional-grade drying equipment is used. Simple water heater leaks in a garage might dry in two days; a whole-house flood with saturated drywall and carpet pad can take a week or more. In Central Florida’s humidity, we have to manage moisture load in the air even after the standing water is extracted. That’s why we use dehumidifiers in addition to air movers, and why we check moisture readings in the materials themselves before we call a job dry.
Dryden Restoration Orlando answers the phone with a live person at any hour, and we dispatch from within the Orlando area. In most cases, a technician can be on-site within an hour or two of your call. The key with water damage isn’t just showing up; it’s showing up with extraction equipment, moisture meters, and a written plan. Every hour of standing water increases secondary damage and the odds of mold. Call (850) 786-4472 and you’ll talk to a person who can dispatch, not an answering service.
If water is extracted and dried completely within 24 to 48 hours, mold growth is uncommon. If the water sat longer than that, or if the materials can’t be dried thoroughly (insulation inside a wall cavity, for example), mold risk rises quickly in Orlando’s warm, humid climate. The presence of a musty odor or visible discoloration after drying usually means remediation is needed. A professional moisture assessment will tell you which situation you’re in. We don’t sell mold remediation where it’s not needed; we test and show you the readings.
You can, and many homeowners do. But from our experience in Orlando, claims go smoother when a restoration company with insurance experience handles the documentation, the scope of work, and the direct communication with the adjuster. We prepare photo documentation, moisture logs, and line-item scopes that match the insurance industry’s format. You stay informed the whole time, but you don’t have to interpret policy language or argue over dry-out standards. We handle the back-and-forth so the process moves faster and the settlement reflects the actual damage.
The Bottom Line
Orlando’s water damage problems are not the same as water damage problems in other parts of the country. The humidity, the sandy soil, the afternoon storm pattern, and the constant AC load create a specific set of vulnerabilities that a generic national checklist won’t catch. The monthly condensate flush, the irrigation setback check, the soffit and fascia walk-around, and the wet-season preparation in May are your highest-value tasks. Do those consistently, and you’ll catch most water problems before they require a restoration crew. When something does go wrong, document it with your phone, call a company that gives the written price before work starts, and don’t let water sit. The Dryden Restoration Orlando home team handles water, mold, and fire damage restoration in Orlando with a specific guarantee: a price in writing before any tool is touched, a live person on the phone at any hour, and a 365-Day Done Right Promise on every repair. If you’re seeing a sign you can’t explain, call (850) 786-4472 and we’ll help you figure out what you’re looking at.
Written by Carl Brandt, Owner at Dryden Restoration Orlando, serving Orlando since 2005.
See the difference
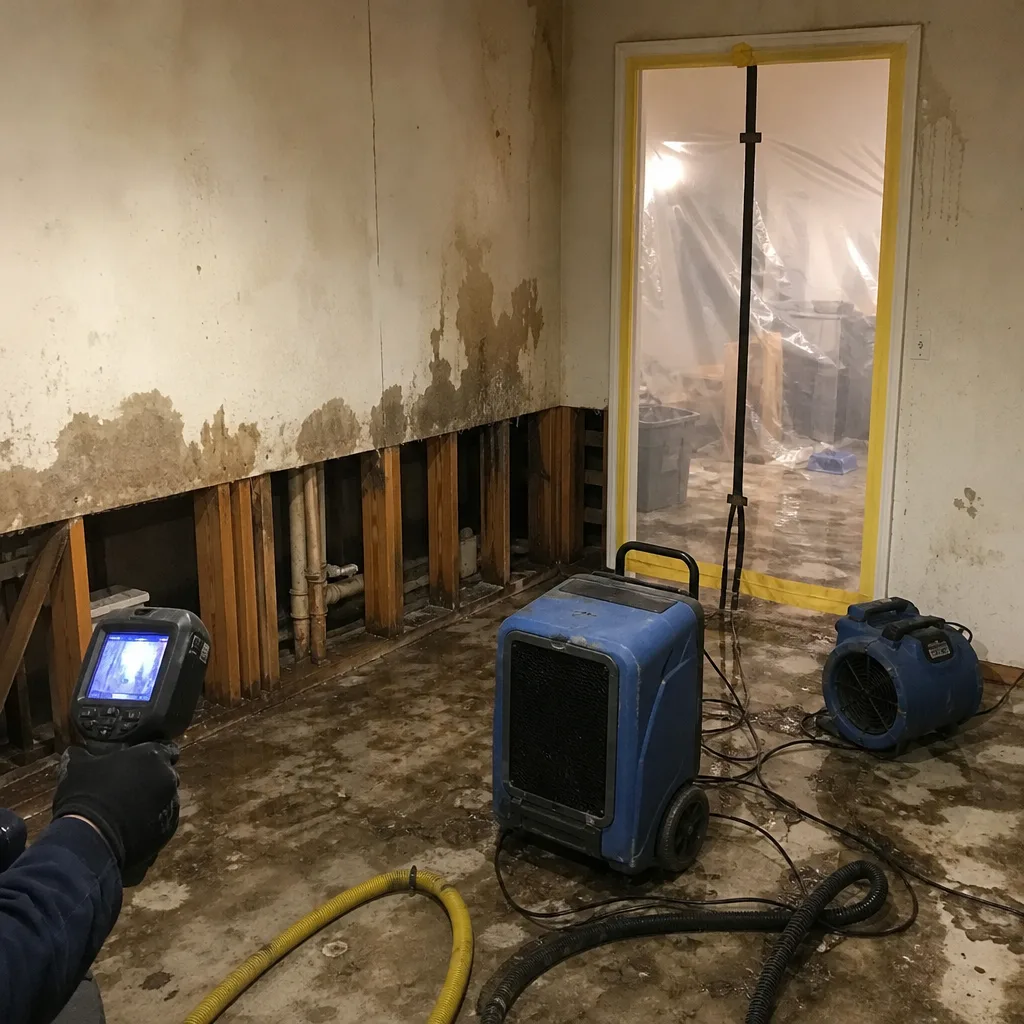 Before
 After
After Before
 After
After Before
 After
After